Back to main menu
There are two ways to create an MDT Boot Image
1. Using the Create MDT Boot Image wizard (standalone)
2. As part of the Create MDT Task Sequence Wizard
Part 13c of my Config Mgr 2012 SP1 Step by Step Guide describes #1 - using the Create MDT Boot Image wizard
Navigate to Software Library > Operating Systems > Boot Images.
Right click and see the additional option added by the MDT/Config Mgr Integration. Choose "Create Boot Image using MDT"
Specify a folder that will contain the boot image. Note that the folder must exist.
Enter a suitable name.
Enable command line support
Click Next to create the image
Verify progress
Boot image has been created
See new boot image
Folder has been populated with new boot image.
Back to main menu
Why do you need to integrate MDT 2012 with Config Mgr 2012? The answer is you don't and it very much depends on your requirements. However a combination of the two products is much more powerful than Config Mgr alone - it provides a much richer OSD capability.
Here are two examples of situations I encountered when MDT was required:
1. I needed an additional boot image to boot into Windows PE and force the NIC to use 100Mbps/Full Duplex rather than Auto - required due to the local switching environment. I edited the inf file of the NIC driver to change the default behaviour. I then created a new MDT Boot Image and imported the edited NIC driver - it worked very nicely.
2. I was creating an OSD solution for a company with a multi-domain environment. They wanted a User Driven Installation (UDI) Task Sequence so that an administrator could be prompted to choose the correct domain during the installation. The administrator could also choose to install applications by selecting from a list. I achieved this using an MDT Task Sequence.
Part 13b of my Config Mgr 2012 SP1 Step by Step Guide describes how to install MDT 2012 and how to integrate this with Config Mgr 2012. Parts 13c and 13d show how to create MDT Boot Images and Task Sequences.
Download MDT 2012 here
Microsoft Deployment Toolkit (MDT) 2012 Update 1
Run the installer as administrator and choose the default installation settings. The installation is very short and straighforward.
MDT 2012 has now been installed.
Now configure the Config Mgr integration.
Click Start > All Programs > Microsoft Deployment Toolkit > Configure ConfigMgr Integration
This starts the Integration wizard. Choose your Site Server and ensure the Site Code is correct. Click Next.
Verify that the integration has completed successfully.
Back to main menu
Part 15 describes the process of configuring a Microsoft Software Update solution. Part 16 now extends the solution to include Non-Microsoft updates using System Center Updates Publisher 2011 (SCUP 2011). I will be concentrating on Adobe updates for the purposes of demonstration.
I wish to acknowledge that I learned how to deploy SCUP by following this excellent guide by Kent Agerlund.
http://blog.coretech.dk/kea/the-complete-scup-2011-installation-and-configuration-guide/
Download SCUP 2011 here and save to a folder on your Config Mgr server
SystemCenterUpdatesPublisher.msi
1. SCUP Installation
2. SCUP Configuration - Integration with WSUS and Config Mgr
3. Certificates
4. GPO
5. Config Mgr package to distribute certificate
6. SCUP Configuration - Publish Updates
1. SCUP Installation
Open a command prompt as Administrator and run the command
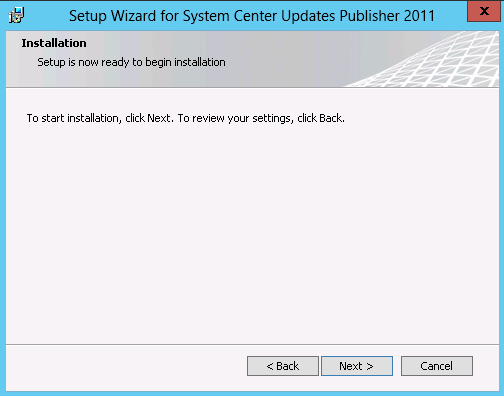
The SCUP 2011 installation wizard starts
Click Next to continue
Ignore this as we are using a later version of WSUS. Click Next to continue through the wizard.
SCUP 2011 has now installed. See the console.
2. SCUP Configuration - Integration with WSUS and Config Mgr
Click Options on the SCUP console ribbon
Update Server: Click to "enable publishing to an update server" and Test Connection
Test is successful but we are informed that we have no signing certificate. Click to Create one.
See Certificate
Select the ConfigMgr tab
Enable Configuration Manager integration, choose whether your server is local or remote and Test Connection.
3. Certificates
Open Certificates Console
Type mmc and Add Certificate snap-in
Choose Computer Account
Choose Local Computer
Click OK
See WSUS Publishers Self-Signed Certificate that we created earlier.
Copy and Paste the certificate into Trusted Root Certification Authorities/Certificates and Trusted Publishers/Certificates.
Now we will export the certificate to use in a Config Mgr package (to deploy the certificate to the estate of computers).
Right Click the certificate and choose to Export
Choose "No, do not export the private key".
Choose DER encoded binary X.509
Choose a path for the .cer file
Finish the wizard
OK
4. GPO
Create GPO to "Allow signed updates from an intranet Microsoft update service location"
Right click required OU and "Create GPO, link it here"
Name the object
Edit the object
Computer Configuration, Administrative Templates, Windows Components, Windows Update
Enable "Allow signed updates from an intranet Microsoft update service location"
5. Config Mgr package to distribute certificate
Copy the following to a folder
yourcert.cer (mine is scupcert.cer)
certadm.dll
certutil.exe
You can find certadm.dll and certutil.exe in SysWOW64 folder
Create Config Mgr package
Create a Program to add the cert to the local Root store
certutil.exe -addstore Root scupcert.cer
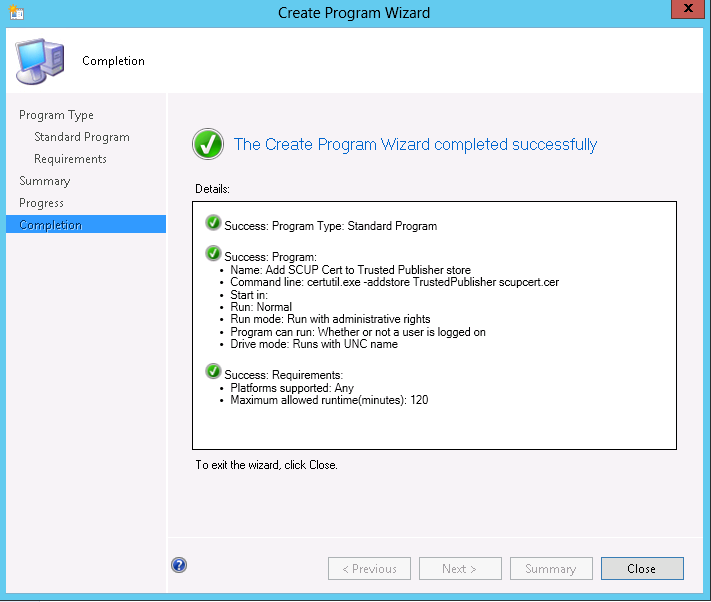
Create a Program to add the cert to the Trusted Publisher store
certutil.exe -addstore TrustedPublisher scupcert.cer
Configure to run "Add SCUP cert to local Root store" first
Distribute the package to your DPs
Deploy the package to your computers collection (I have chosen a test collection)
6. SCUP Configuration - Publish Updates
Open SCUP console. Select Catalogs tab/ Add Catalogs
Select the Adobe Catalogs and Add
Select the Updates tab and click Import
This starts the Import Software Updates Catalog wizard
Choose all the Adobe Catalogs and click Next
Click Next to continue and accept all the Security Warnings
Close the Wizard
See the Software Updates that have been imported. Highlight the updates you need, right click and choose Assign. This starts the Assign Updates Wizard
Choose "Full Content" and create a new publication. You can add multiple updates to a publication. Click OK to create the publication
Navigate to the Publication tab and select your publication
Select Publish to start the Publish Software Updates Wizard
On Summary page click Next to commence publishing
Verify progress
Wizard is complete
Verify update download and publishing via SCUP,log (log can be found in user profile - see path in screenshot)
Confirmation that updates have been published
Configure Config Mgr Software Update Point for Adobe Products
Verify synchronization via WSYNCMGR.log
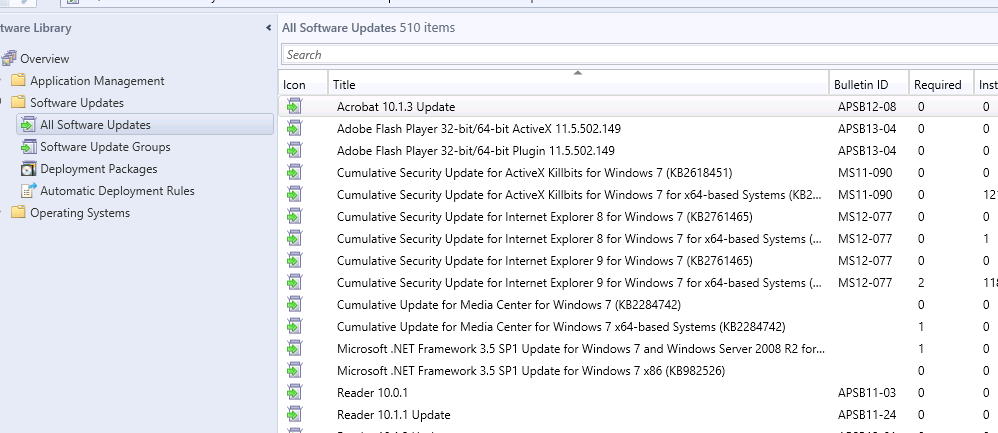
See Adobe Updates in Config Mgr. They can now be deployed in the same way as the Microsoft Updates.